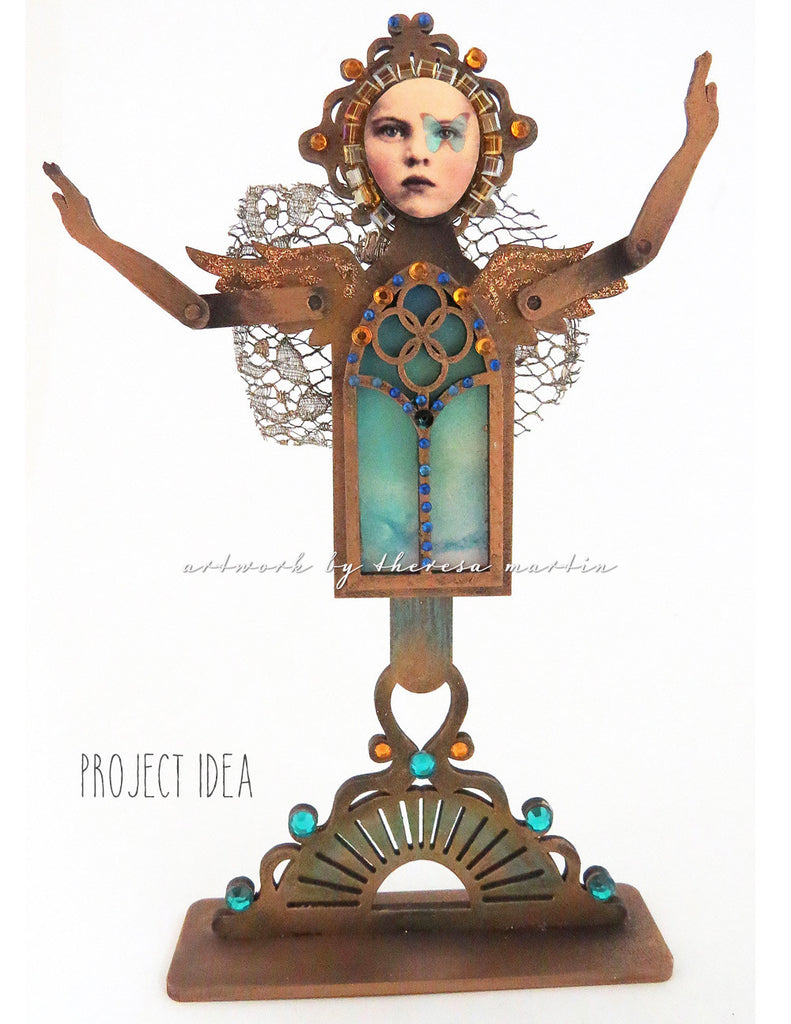
This is an easy peasy project, even for beginners who are using PaperWhimsy Amazing Alterables™ for the first time... and who doesn't love a fairy.

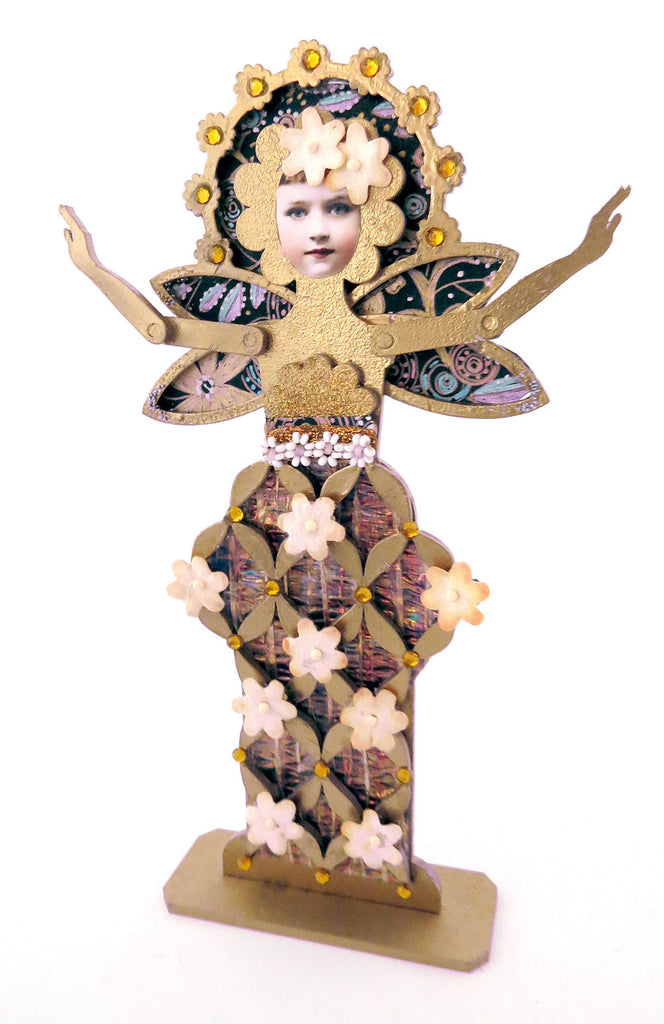
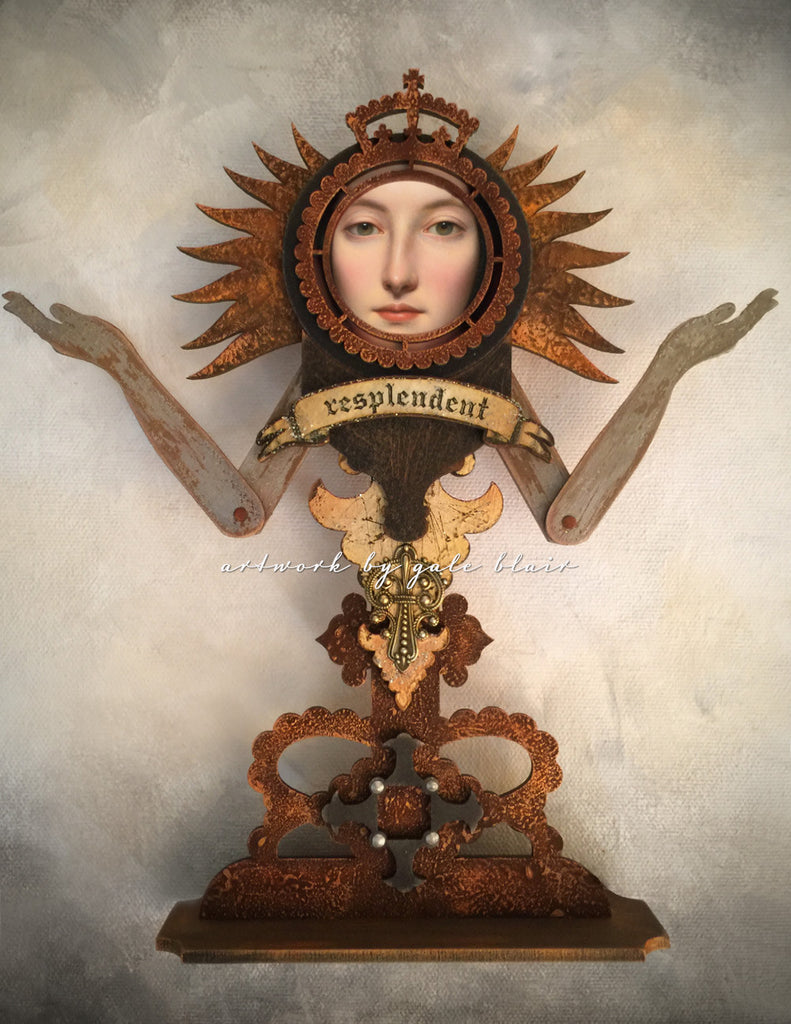
I started with the Curious Heart Fairy as my base.

I spray painted all pieces except the loose head, with a gold spray paint (I never seem to end up where I begin so you'll note that the big scalloped heart and the small scalloped heart "wings" behind the body appear to be silver - and that's because they are. After putting the pieces together I decided to spray paint those gold pieces a silver color.).
For the head I used a small face from the Faces Sheet - cutting loosely around the face leaving a fairly even border.

This is my trick for getting a nice even face on my head shape...
I glued the face to the head shape using Avery Permanent Glue Stic on the paper and then used a brayer to make sure the paper face was securely affixed to the head.
I then used a piece of fine sandpaper (150 grit) and using only a downward motion along the edge of the head, holding the sandpaper at about a 45 degree angle, I carefully sanded all the way around the head shape to "trim" away the excess paper.

Definitely take your time if you're using this method to trim away the excess paper and only sand in a downward motion. Do not sand up and down, do not sand around. Only sand along the edge, downward, so you don't sand away any of the face. Works like a charm with a perfectly trimmed face, every time!
I used Digi 259 for the skirt pasting and trimming the exact way I did the head. You'll notice that the fairy fits together much like a puzzle when you get it so if you are papering the skirt you don't need to go all the way up to cut out on the skirt that fits into the heart "wings".
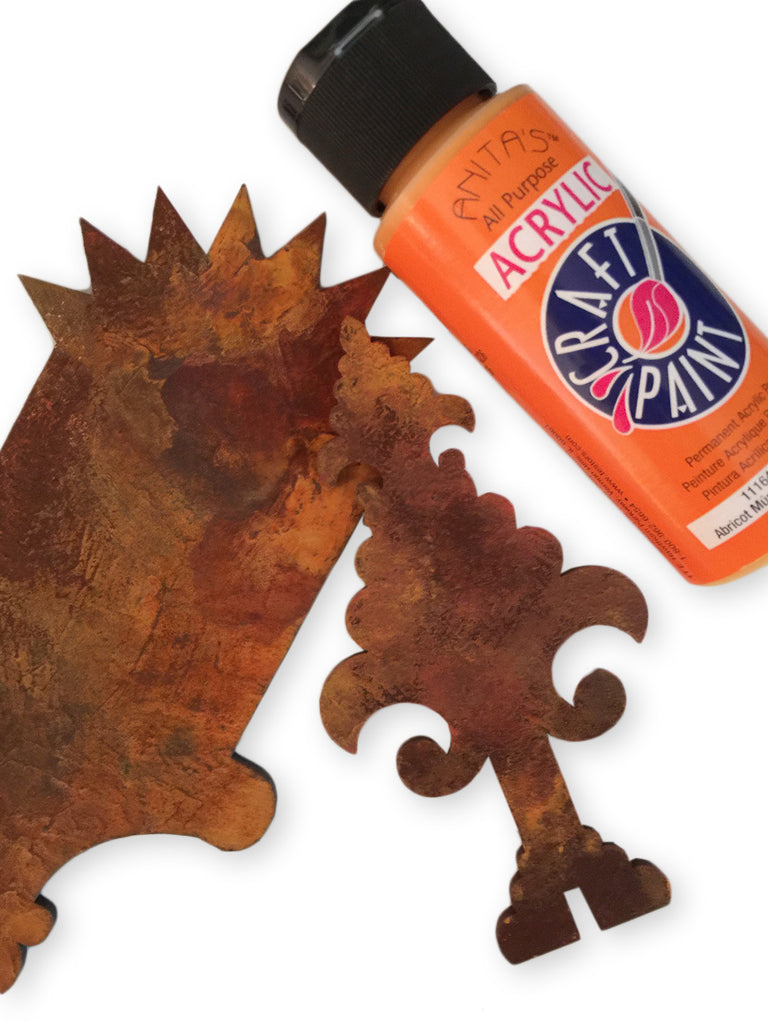
I then did my usual of lightly sanding and scratching the wings and the scalloped heart and antiquing with StazOn Saddle Brown or similar ink.
The raised dots on the scalloped heart were created with a Viva Pearl Pen. But there are other products out there that you can also use to create "pearls".
The rusty heart is using the technique I explained, HERE.
I recommend assembling your fairy after you've decorated all her pieces. The best way to assemble is to lay her flat and glue the pieces in layers, as such:
1) wings and skirt on the bottom
2) using pegs, assemble arms and then attach to wings (I put tiny amounts of glue stick on pegs so they stay in place).
3) center body between arms so the top of the arms are at shoulder length - glue body in place.
4) fit skirt into cutout at bottom of body, center and glue in place.
5) head, tiny scalloped heart and big smooth heart go last .
I also added one of the Tree Circlets with Tabs (spray painted with gold) gluing it in place behind the head.
I used Aleene's Tacky Glue for fairy assembly.
Hope you enjoy! TTFN!
Continue reading